Showing posts with label buttons. Show all posts

Sunday, 26 May 2013

Button Rack


Hello everyone! How about making yourself a nice button rack for your necklaces and bracelets?! :)

I was inspired to make this kind of a project when I saw similar projects on Pinterest. But instead of using old cabinet knobs, I used buttons!


Let's get started!


You need:

 - a desk 
 - buttons from Lots of buttons (Emeline, Bell, Hellen and Portia)
 - bottle corks
 - rope

1. Start with painting the desk you are going to use. I'm in love with the combination of dark blue and white, so this is my version.


The white frame should be cracked.... Yeah right. Not with an 100 years old cracking varnish...


2. And then figure out the layout. 
I wanted a part just for bracelets, to the one that has the least space is for them, the others are reserved for long necklaces :)


3. Glue the buttons on the bottle corks (paint them before, if needed).


4. And then you just want to hang the rack somehow. I made a braid and glue it on the back side.


5. Decorate as you wish and you are done! :)


How do you display your necklaces? :) Would you make something like this? :)

Tuesday, 7 May 2013

Button Brooch


Hello button lovers!

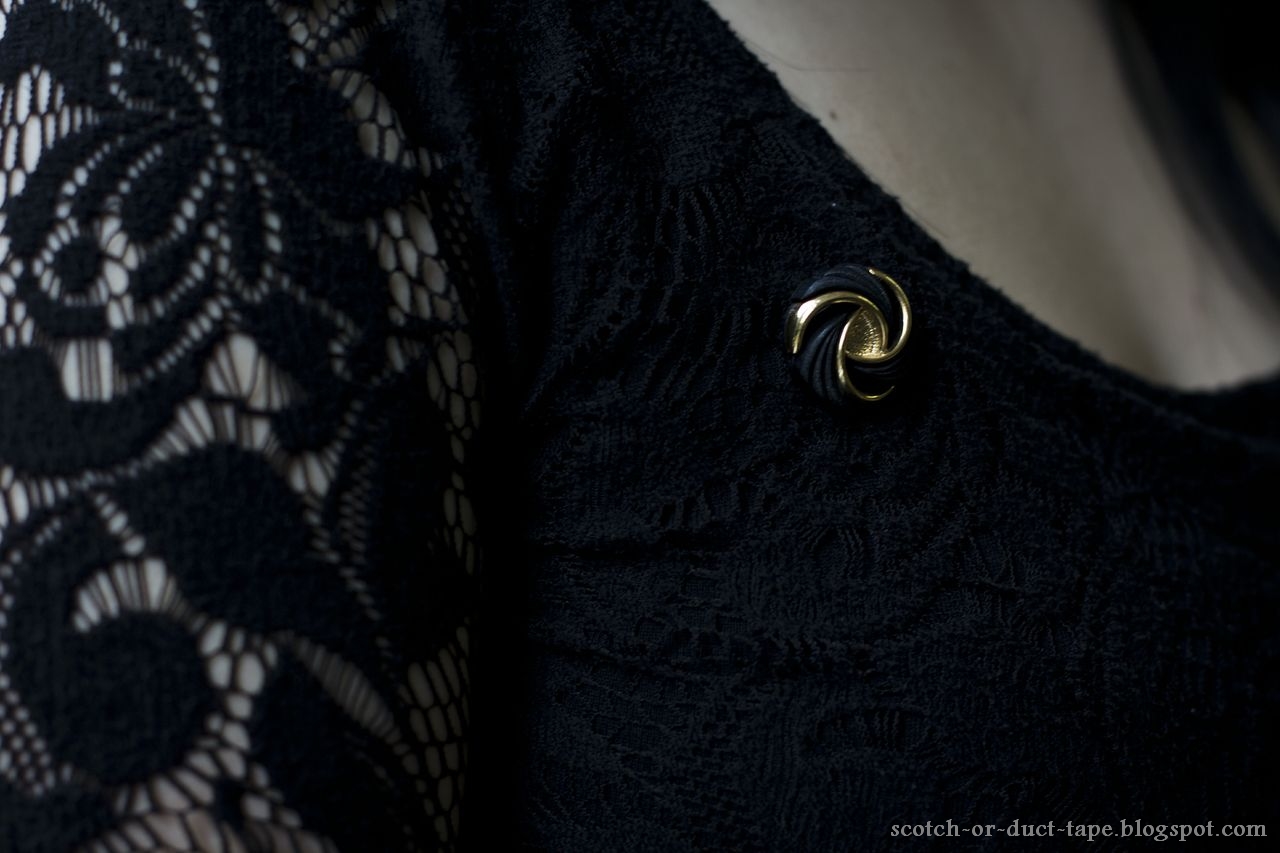
Yes, it's another tutorial with some buttons from Lots of buttons  - a brooch!


Now this tutorial is, again, super easy!

Just buy the brooch attachment at your local craft store and glue it on the back of the button (if you think you need to cut the shank, do it).


Buttons used: Jean and Carolyne.


I really like the results and because there are a lot of buttons to choose from I know that every each of them would make a great brooch!

Tuesday, 23 April 2013

Button Pendant Necklace


Hello everyone! 

It's time for me to show you another DIY project out of buttons from Lots of buttons!


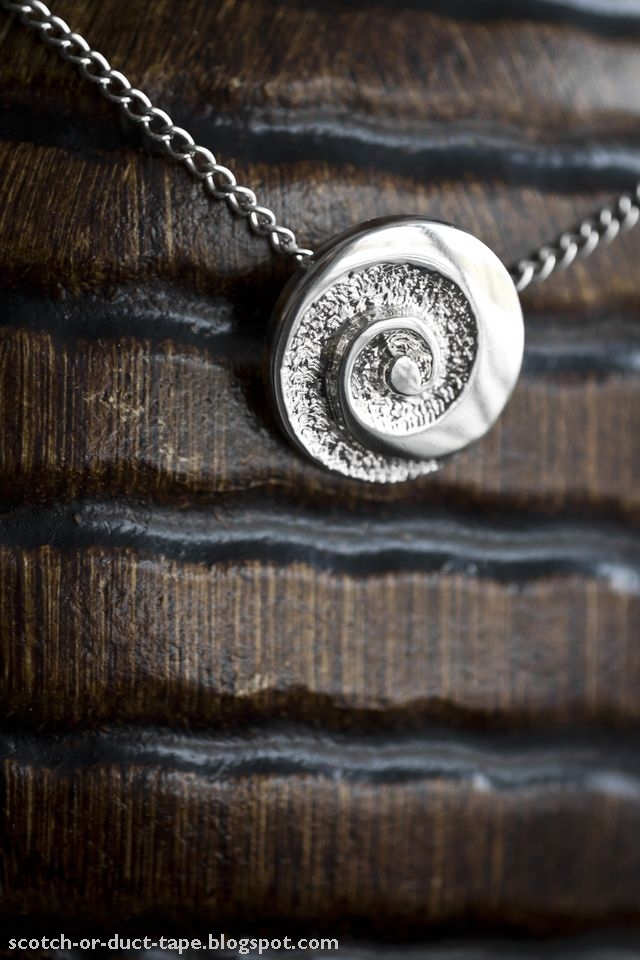
This project will show you how to make a beautiful button into a beautiful pendant necklace.


The steps are a bit tricky, but still easy to follow. 

And this is just my way of doing it, I'm sure you can find another way to make it even more simpler, but I had to do with the supplies I had. 

Buttons used: Bethany (and lost Marquis...)


So, first I took one wire that had a loop on one end and made another loop on the other end.

And so I put this wire through the shank of the button. 


Through each loop I attached one end of the wire.

I ''filled'' the spaces between the shank and the wire with some more wire. I'm pretty sure there are other ways too, but at that time I had no idea what else to do. But this works just fine, just make sure there aren't any sharp edges stick out.


Here is another version, a bit more vintage :)


I'm sure you can find a beautiful button from the site, so check it out and maybe you'll make a pendant necklace too :)

Have a nice day!

Sunday, 7 April 2013

Button Magnets


This is my next project for Lots of buttons....magnets!


Again the process is very simple, but why should it be difficult...
All you have to do is to cut the back of the button and glue the magnets on. 

Used buttons: Moon, Florentino, Dagmar, Elfrieda, Stacia and two of my buttons.


It's a nice and easy way to make your fridge a bit more chick and interesting, and I'm sure you can find dozen of buttons that would fit your personality and the interior of your home.

The hat is also one of my creations that I made some time ago.

Sunday, 17 March 2013

Button Pins!

Hello everyone! 
I have to publish a new project for Lots of buttons today :)
And today I have a cute and easy DIY that everyone can make to look their home a bit more fun :)


Yes, Button Pins. Why? Because I have some cork tiles on which I pin all sorts of things - postcards, messages, funny notes, coupons, etc. And I wanted to make those dull pins into something more colourful and fun :)


Now, if you visited Lots of buttons, you could see that they have a really huge selection of buttons :D And that's very good, because people have different tastes, so everybody has different criteria on what is beautiful, fun or pretty.


For this project you'll need: 
- some buttons, used here are Mathew, Stacia and Tyler.
- drawing pin (push pin), not the ones on the picture...sorry..
- super glue

First, cut the back of the button and sand it till it's flat.


Then, glue the pin and the button together and wait till it dries.


And after that you can use your new pins in your office or at home :) 

I bet people will look at them with that look...''Oh, this is a button?! Wow, I really like the way it looks!'' 

Monday, 11 March 2013

Rikki!


Now Rikki here is wonderful! And because you can order smaller versions, you can make earrings, like these, too! 


See my tutorial on these rings here :)

Wednesday, 27 February 2013

Button Earrings!


Hello Everyone!
As from now on, I'll be making tutorials for Lots of buttons, from their gorgeous selection of buttons!

And I think that you will see that making beautiful things, crafts with buttons, really isn't hard. It's easy! You just need some imagination, inspiration and time :)


Check out my first tutorial from their selection here.


Now let's check this tutorial :)

I fell in love with Bethany, I can't deny that. And because you can purchase different sizes, I bought two 14 mm and made them into earrings :)

I cut the back of the buttons and sand the rest as much as you can. You really want your buttons as flat as possible.


Then superglue it to the earring base :) Wait through the night to dry. 


And there you have it :) Nice and unique earring most of your friends won't even know that they are buttons! :) And that's the point! Buttons can be used everywhere! :)

Monday, 11 February 2013

White Smoke, Fuchsia Pink, Apple Green or Charcoal


Erlinda just is amazing! As soon as I saw it I knew it would make a great ring!


The only problem is just that the surface on the bottom is not completely flat. But it's not such a big deal, just sand it a bit and use a strong glue :)

Monday, 28 January 2013

Mazie is my favourite one!

Favourite button ring of course!

Mazie is a shell button with a beautiful pattern :)


I think they would be beautiful as earrings, wouldn't they? 
Maybe someday :D 

Friday, 25 January 2013

Button Rings III


I really fell in love with making rings, but I promise I'm going to take a break making them for a while now :D

These are also from Lots of buttons, but are a bit different from the others. It wasn't that easy to make them. They had a big hole in the back, so I needed to fix that.


With what? Fimo of course :D


Here two buttons here are called Glenna and Latosha.


Cut and sand the back of the button first. 


Take a matching coloured Fimo and push it really good on the back.
Make sure it's flat and carefully take it out. Then just put it in the oven as it says on the packaging.


When that's done, simply glue it on the back, and on top of that glue the ring base :)


Check out my first and second tutorial on button rings.

Tuesday, 15 January 2013

Lovely button rings!


And here it is! The DIY project containing my beautiful buttons from Lots Of Buttons!

As you all know, I won a voucher on a contest on Cut out and Keep for this wonderful site.

I picked 20 different buttons for one reason. I won with button rings, but now I want more of them! So ... I made rings out of buttons! And I think I've picked well :)

Let’s see how I made them!

Here I used: 
- buttons Erlinda, Janie, Rikki, Mazie, Layne, Elza, Milagro, Bethany and Misty
- silver ring base
- pliers
- sand paper
- super glue

First, I cut the back of the button, and if that was needed, sanded it a bit.


Figure out how you want the ring pattern to be. After that I added some super glue (E6000 would be the best) on the ring base, which I bought in a local craft store, and glued these two together.


And that's it! It cannot get any simpler. I hope you like it as much as I do! I'm really in love with them.

And every Monday I'll be posting one ring at the time, so you'll get a closer look at them :)

Saturday, 29 December 2012

It's here!

Uuuu yeah! 
Got the package from Hong Kong!

Ok, I got it a week ago, but I really didn't have time to post it on...Sorry!


Well as you can see there were 20...Damn, I've ordered 2 of the red-pink one....Pity... oh well :)

Don't worry, I'll be posting some beautiful rings out of them soon! :)

Monday, 26 November 2012

Button magnets


Yes, I am obsessed with them. Again! 
This si a simple DIY that takes only a minute for one button :) 

If needed, cut the back of the buttons. And just glue the magnet to the button and wait to dry.


Super Simple :D

Have you made any magnets? Share with me at nicholson.ema@gmail.com ! :D

Monday, 15 October 2012

I've made another button ring...


I made it for my schoolmate :)

Now, I had A LOT of problems with this one!  First normally I chopped down the back of the button, and then I had to faille a very big piece of leftovers... And trust me, it wasn't pleasant...


From there, I glued the ring base to the button...At first it seemed like a piece of cake, but I saw that there was a hole between the button and the ring base, so I had to file it more...

When I attached the base again, the ring broke..Luckily I had another golden ring base, so I put on that one.


And when I gave the ring to this friend, this one too broke. I was so angry and I felt humiliated in front of her. But I didn't give up, I was determent to make things right!


I bought my good ''old'' silver ring bases and even though it wasn't so nice as it would be with a golden base, I was satisfied with the result :)


Have you seen my first post of my button rings? Click on the photo :)